Containerise with Docker Fundamental Part 01

Image source: by Wei Chu
Table:
Step 00 | Prerequisite
-
Installing
npmbash
-
Installing the
node.jsmodulebash
Step 01 | Creating an express app with node.js for testing the container function
-
Using the
npm initto create a new package.json file for a Node.js project.bash
-
We will see a
package.jsonfile is now created in the directory.package.json
-
creating the express app file
index.jsfor testing.index.js
Step 02 | Setting Docker container
- Installing docker on the local machine .
- Go to hub.docker.com , search “node” .
-
As the default image of node in the hub won't have every dependencies we will need for our app, we are going to write our own customised image but based on the image that is shown on the hub.

-
Creating a Dockerfile,
. ./will cache all the docker build result, which will allow speed up next time when run the image build again.Dockerfile
-
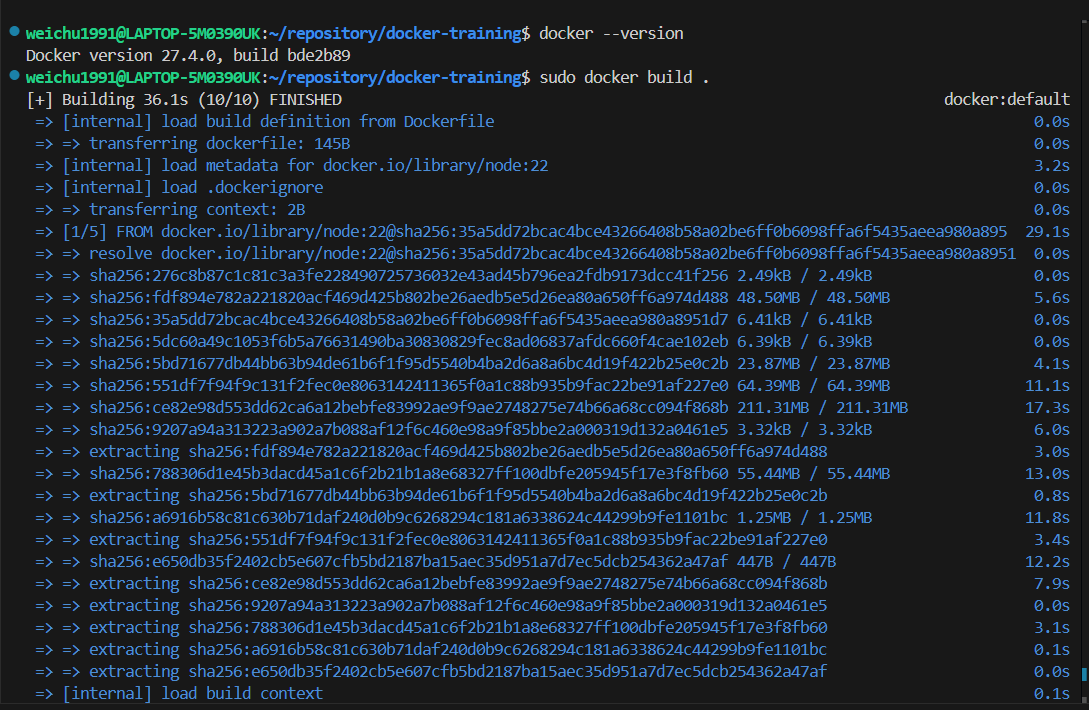
Run the command to build the docker image
bash

-
Check the now existed docker image to see if it has successfully created.
bash

-
(Optional) you can also remove the image by specifying the image ID.
bash

-
(Optional) you can rebuild the image again but specifying a name for the docker image this time by adding a flag -t in the command.
bash
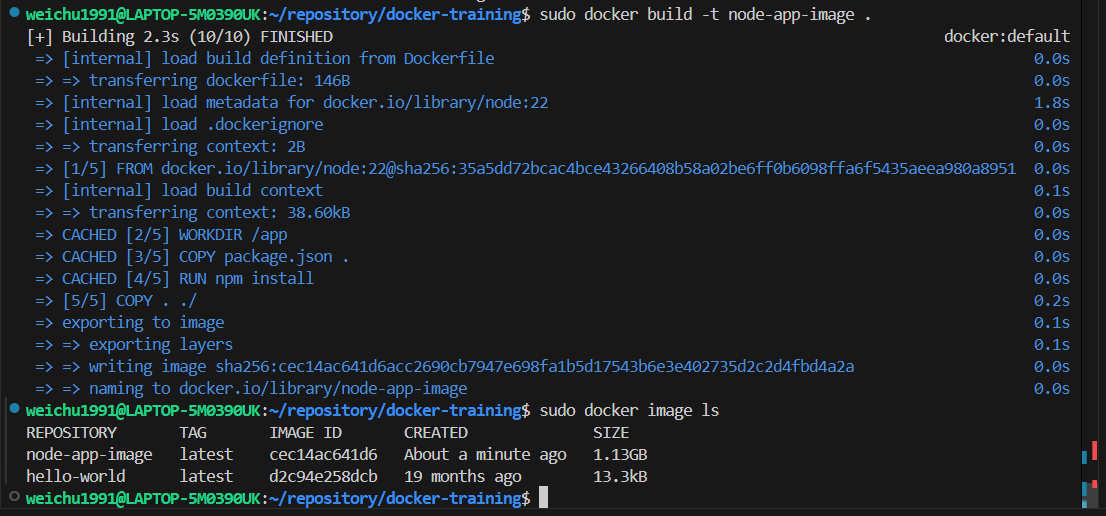 Now go ahead and run it.
bash
 Double check.
bash
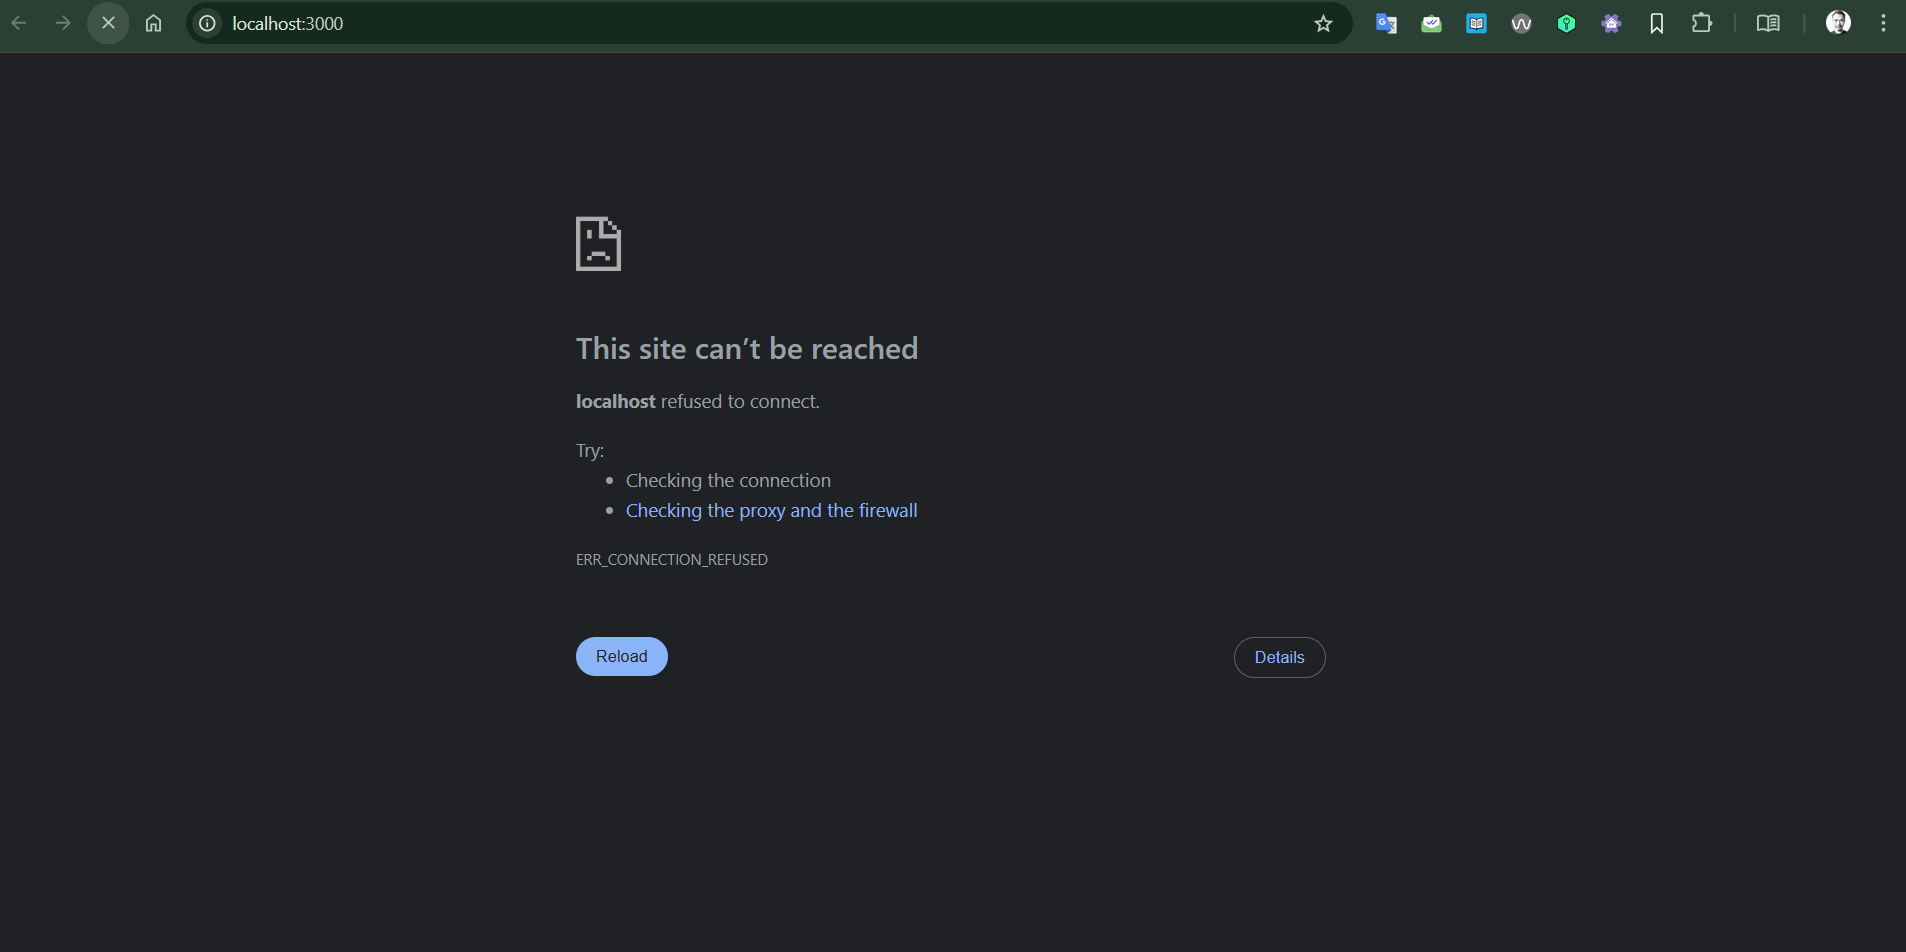
 Go to the browser and check it, the website should be not working just yet . Go to the next major step about the port and how network can talk to the container.
Step 03 | Container and Network Traffic Management
bash
Step 04 | Starting a exited container
-
The following command will only show the container is currently running.
bash

-
The following command will show all the containers including the one that is not active.
bash

-
Run the following command start running the exited container again.
bash

bash

💡 If you want to start the container and attach to it, you can use:
bash
💡 If you need to run a new container from an image, you can use the
docker runcommand:bash
Step 05 | .dockerignore to enhance security
Run the following commands, and we will find that the dockerfile is also included in the deployed container, which is not the safest practice:
-
Run the follow command to enter the shell of the container node.
bash
-
Run the command
lsin the instance shell to check the files that has been synced from the working directory to the container node. We will find the Dockerfile and node.js modules are all synced, which is not necessary for those files existed in there and potentially contain security risk.
-
This is when
.dockerignorefile comes in handy..dockerignore
-
After creating the .dockerignore file and specifying the directory item to be ignored, rebuilding the image and then re-deploy the container.
- Stop the container by running command
sudo docker stop node-app - Remove the container by running command
sudo docker rm node-app - Run the command
sudo docker image ls -ato get the image ID and run the commandsudo docker image rm cec14ac641d6to remove the image. - Run the command
sudo docker build -t node-app-image .to rebuild the image again - Run the command
sudo docker run -p 3000:3000 -d --name node-app node-app-imageto redeploy the container again - Run the command
sudo docker exec -it node-app bashto enter the shell of the container, and we will find the items in the.dockerignorefile are now ignored while deploying the container.


💡 We might still be able to find the node_modules in the container's directory even though we asked the modules to be ignored. It is because we specify npm to install the dependencies into the container in the dockerfile (see the screenshot below).

- Stop the container by running command
Step 06 | Docker Bind Mount for Directory Files Synchronisation to the Container Node
-
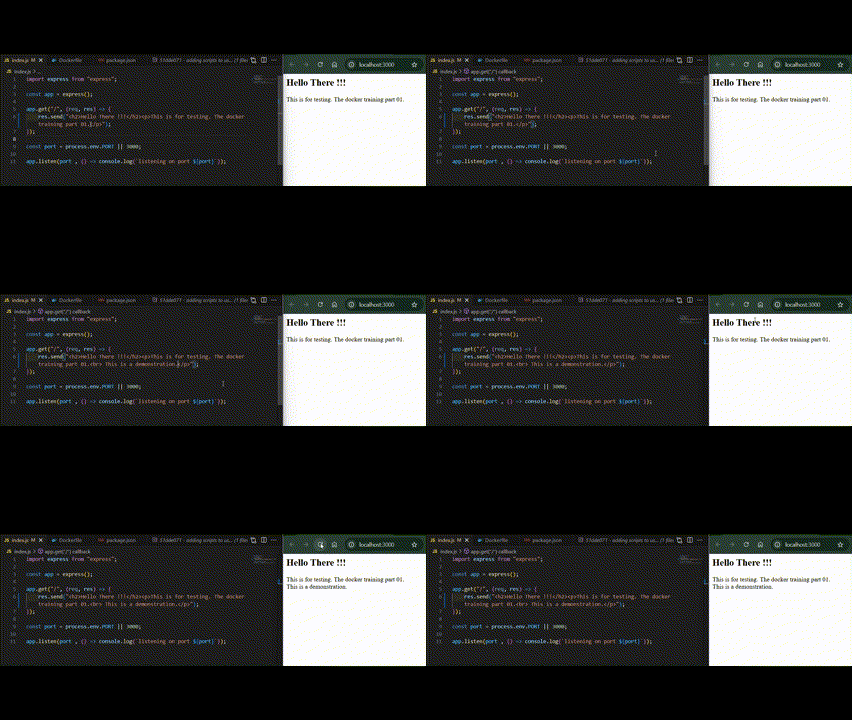
Edit the frontend content in the express app definition file.

-
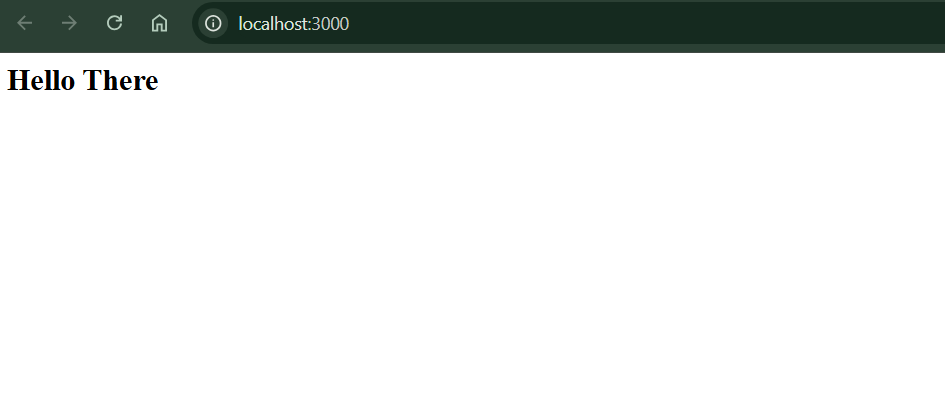
We will find the content still looks the same and updated. That means the frontend app file in the work directory is not synced to the frontend app file in the container node.
-
Question is how to not constantly rebuild the container image when something is changed ? - This is when “Bind Mount” comes in handy.
The following is the command syntax to set up the bind mount mechanism between the working directory and the container node.
💡 What is Bind Mount
A bind mount in Docker is a way to mount a directory or file from the host machine into a container. This allows the container to access and modify files on the host system. Bind mounts are useful for development, as changes made on the host are immediately reflected in the container.bash
According to my case, it would be :bash
To avoid the syntax become too long, it is better to specify the path in the dynamic way as normally docker only accept the full path address and doesn't like relative path.bash
Stop and remove the existing container node and redeploy a container with the command syntax above. The new container now should be in sync with the host work directory. Remember to restart the container node process when frontend content is updated.

Step 07 | Automatically Restarting the Node Process with Nodemon
Using together with bind mount, when frontend content has been updated and synced to the container node, restarting the node process will be required. In order to prevent from manually running commands to achieve the task, Nodemon will be setup together with Bind Mount.
💡 What is Nodemon?
Nodemon is a utility that helps develop Node.js applications by automatically restarting the application when file changes in the directory are detected. It is particularly useful during development to avoid manually stopping and restarting the server every time you make a change.Key Features:
- Automatically restarts the Node.js application when file changes are detected.
- Monitors all files in the directory by default, but can be configured to watch specific files or directories.
- Can be used as a replacement for the "node" command.
- We need to install nodemon package with
npm. Run the commandsudo npm install nodemon --save-dev. The flag--save-devin the command indicates that the package should be added to the devDependencies section of yourpackage.jsonfile. Development dependencies are only needed during development and not in production. -
We will find the devDependencies section is created in the package.json file

-
We need to adding few scripts in the
package.jsonfile to make nodemon works properly.
-
Update the Dockerfile

- Repeat the steps in the previous sections to rebuild the image.(Stop&Remove the running node >> Remove the image with ID >> Rebuild the image )
- As
package.jsonis updated, therefore the Bind Mount will need to be conducted again when deploying the container node. The command:sudo docker run -v $(pwd):/app -p 3000:3000 -d --name node-app node-app-image -
Now the frontend content should be in sync between the work directory and container node without manually starting the node processes.
Step 08 | Filtering Cached Item
Context:
- Deleting the node_modules package hosted in the work directory as those node.js package are no longer needed after we containerise the dependency of the app.
-
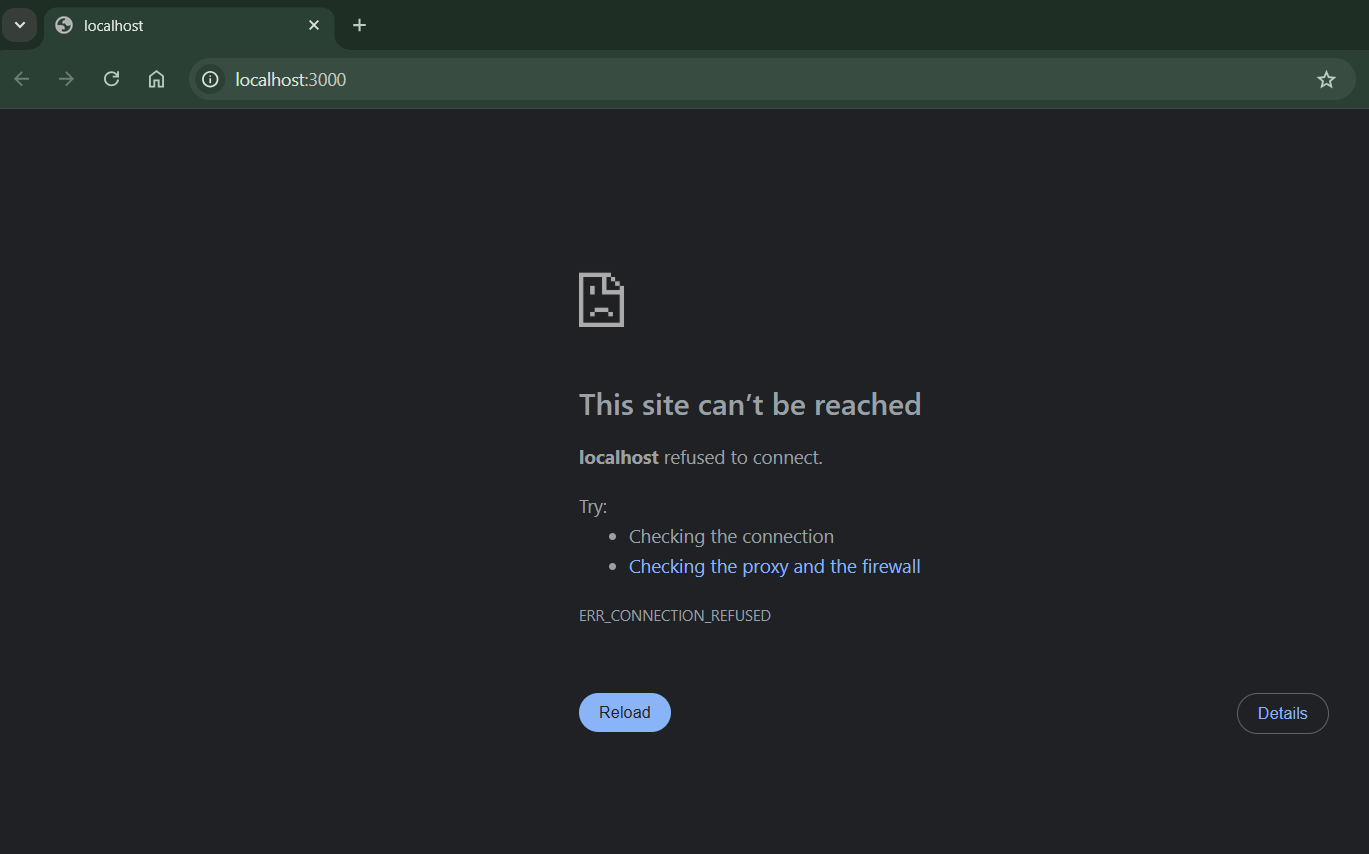
We will then find out the web app is crashed if we will deploy the container node again in the future. This is due to the caching specified in the Dockerfile. Which means that even though npm will install packages in the new container node, the caching means the work directory structure will still override the directory cached in the container node.
bash
-v /app/node_modules creates an anonymous volume for the /app/node_modules directory to avoid overwriting it with the host's node_modules.
💡 How COPY . ./ will impact the caching of the containerisation result
In Docker, each instruction in the Dockerfile creates a layer in the image. Docker uses a caching mechanism to speed up the build process by reusing layers that have not changed. The COPY . ./ instruction can significantly impact caching.
Caching Behavior:
- Layer Caching: Docker caches each layer created by an instruction. If the contents being copied by
COPY . ./have not changed since the last build, Docker will reuse the cached layer. - Invalidating Cache: If any file in the source directory changes, the cache for the
COPY . ./instruction is invalidated, and Docker will re-execute this instruction and all subsequent instructions.
Best Practices:
- Order Matters: Place instructions that change less frequently (e.g.,
COPY [package.json](http://_vscodecontentref_/0) .andRUN npm install) before instructions that change more frequently (e.g.,COPY . ./). This helps maximize cache usage. - Selective Copying: Copy only necessary files to avoid invalidating the cache unnecessarily.
Step 09 | Restricting directory management privilege of the container node to avoid the main work directory being corrupted
Context:
- After the container node has being deployed, you will find that it is possible to create, update or delete files from the container node side because of the bind mount synchronisation
-
For example, if we enter the shell of the containder node, and use the command
touch test.txtto create a new file. We will find the new file immediately is synced to the root work directory. This will make the root work directory risks from being edited or corrupted.
bash

Step 10 | Environment variables
-
Setting default
ENVvalue
for example: setting port number at 3000 in the Dockerfile, and then reference theENVvariablePORT by EXPOSEfor documentation purpose.
-
Now killing the existing container and re-build the image. Re-deploy the container after the image is rebuild the with the environment variable referenced in the command line.
The command:bash

-
To check if the environment variables are parsed into the container, enter the container shell and run the command
printenv:
-
To set multiple environment variables with their own values, we need set up a
.envfile and reference it in the container deployment command.-
Create an
.envfile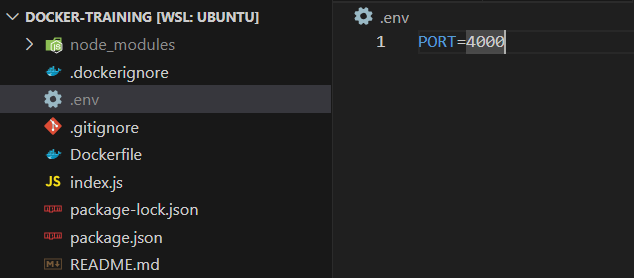
-
Delete the existing container and redeploy it with the following command with
.envfile specified to reference the desired environment variable values.bash
-
Run the command
printenvagain in the container bash shell to check if the environment variables are parsed into the container.
-
Create an
Step 11 | Cleaning up redundant volumes built-up
When a container is removed, some of the volumes attached to it will not be removed with it. In our case, we specify volume /app/node_modules when deploying a container, which is a anonymous volume that won't be deleted when a container is removed.
-
Check the exiting redundant volumes
Using the commanddocker volume lsto check what are the volumes existing in our system:
-
There are 2 methods to handle them:>
-
Using the command
docker volume pruneto trim the redundant volumes.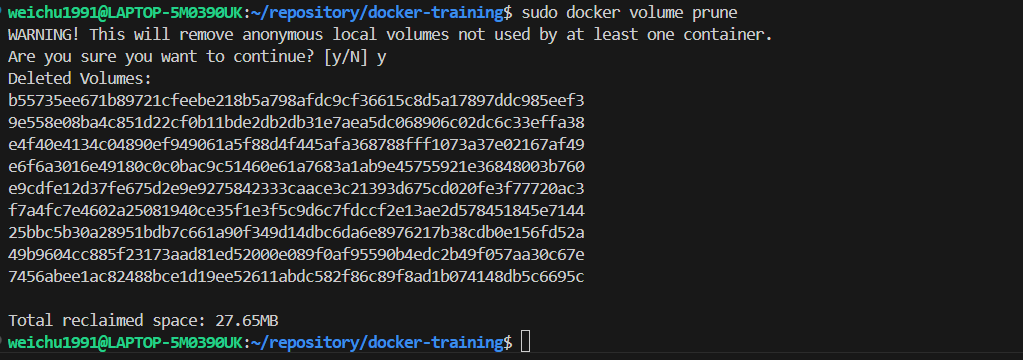
-
Using
-fvflag when removing a container, which will have the attached volume deleted together with the container to prevent volumes from building up.
-
Using the command